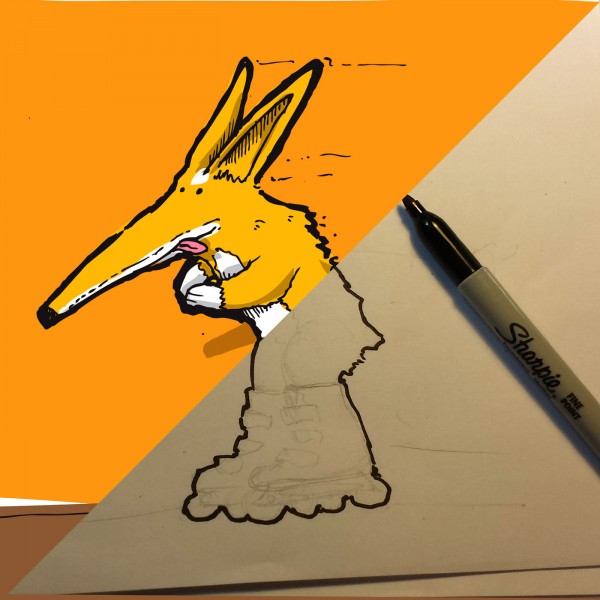
How to draw like Fairdale
To break up my day at Fairdale Bikes I often spend some time doodling. Drawing something ridiculous is a great way to drum up a smile and save my soul from the torture of working in spreadsheets. Folks often ask me what process I use for colorizing/ digitizing drawings so I put together this little How To. Check it out and have some fun with it.
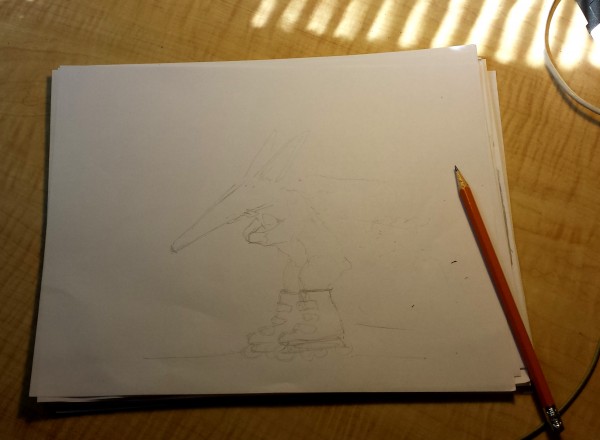
Step 1: First thing I do is look around for something that makes me laugh. Today Monty was Rollerblading® around the office in pink fruit boots and that seemed like a good place to start.
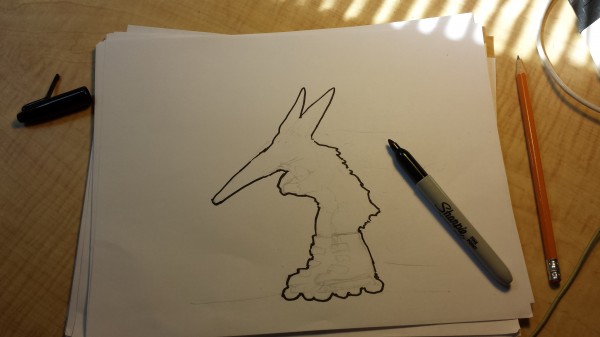
Step 2: When I’m drawing something quick I find dropping a heavy outline around the sketch with a Sharpie speeds things up a lot.
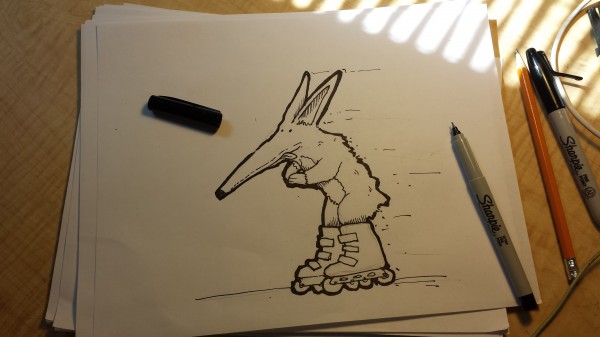
Step 3: I fill in the detail lines with a smaller pen. If it’s something I want to spend more time on I will use finer and finer detailed pens.
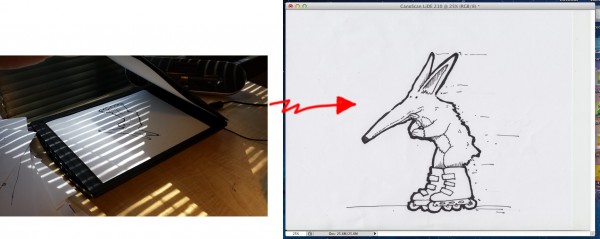
Step 4: Sometimes I’ll color everything in with markers but today’s How To centers around quick computer colorization. I’ll scan the drawing in using a scanner. I have a little flat bed Canon scanner that I can fit into my computer bag while on trips, but you can even get away using a camera phone photo of a drawing too.
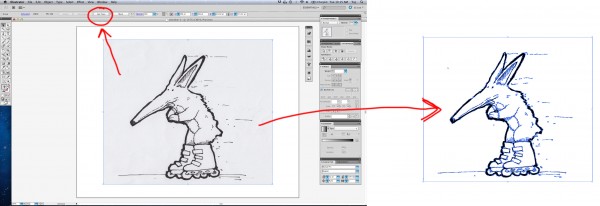
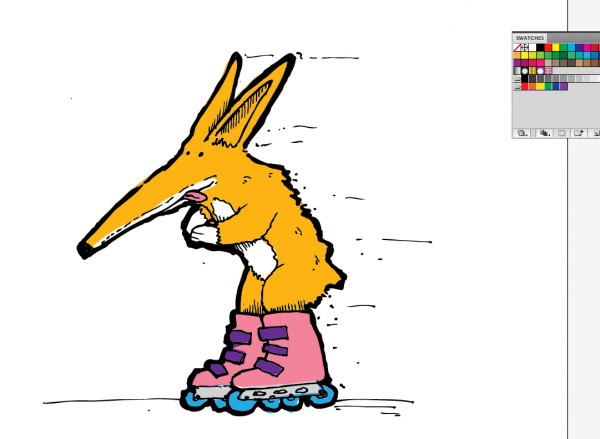
Step 5: After the scan shows up I copy it into Adobe Illustrator. I click the little Live Trace button at the top to “vectorize” the art. This distorts your hand drawn line work a fair bit but I find it looks fine for most quick cartooning stuff.
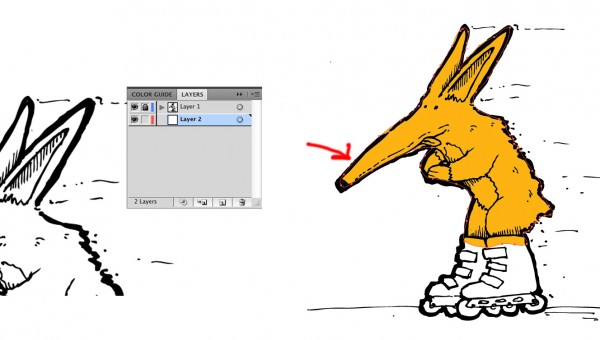
Step 6: You can just select the white shapes and start assigning them colors, but I like to delete out all the white and draw in my own color blocks. To do this I just select all the white from the drawing and delete it out, and then put the black outline in its own locked layer. Now when I draw in color blocks “underneath” that locked layer its ok if they don’t match up perfectly… Gives the drawing a little more hand drawn feel when things aren’t perfect.
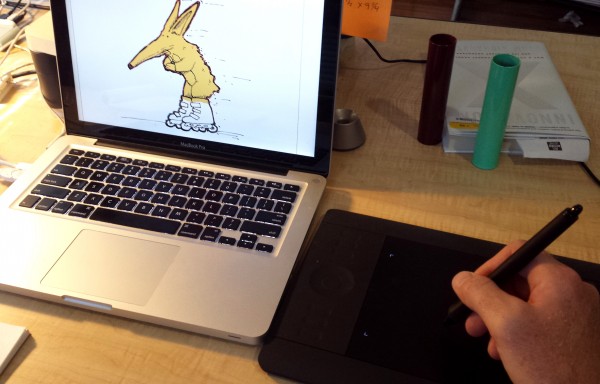
Step 7: I use a Wacom Intuos5 drawing tablet to “draw” in the color shapes. Of course you can just use a mouse too, but this is way faster.
Step 8: Learn your Illustrator key commands and this can be a really quick process. “N” brings up the pencil so you can draw a shape, “I” brings up the eye dropper so you can choose a color to fill that shape with. Keep one hand on the keyboard to switch tools and you can keep your drawing hand in position on the tablet to quickly draw in the shapes.
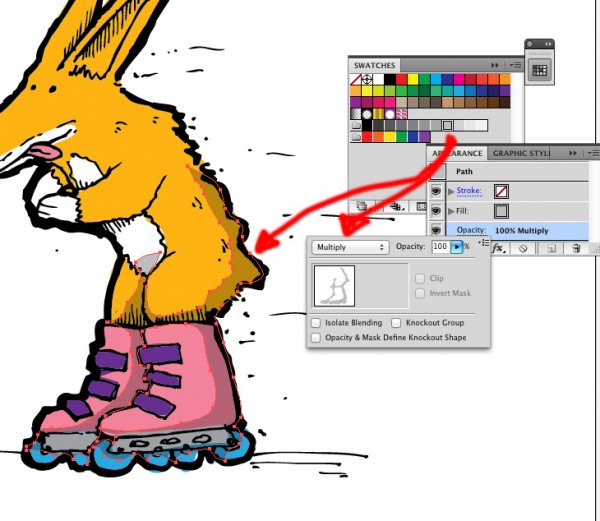
Step 9: Depending on how detailed I’m being I might have several layers of shadows or just one quick one like above. Using the Transparency pallet and the “Multiply” setting I can draw a fast shadow shape over most of the drawing in one shot. This wouldn’t be appropriate to use for something you were drawing for screen printing where you want “spot” colors but it works fine for doodles.
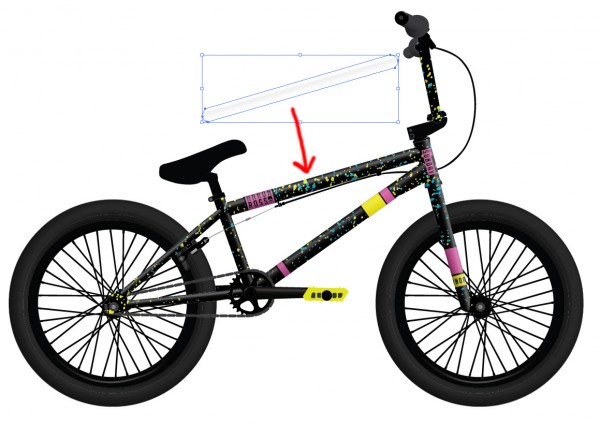
Here’s an example of putting a bit more time into the shadow process for a 2014 Sunday Bikes mock-up I did. You can keep adding detail and make things look more and more realistic.
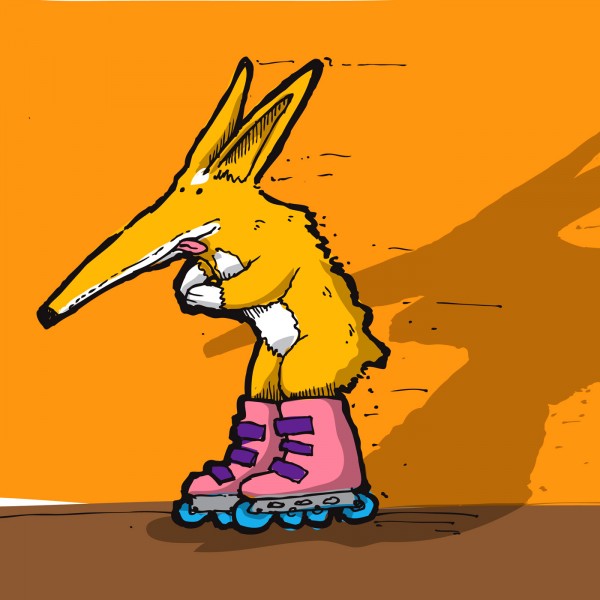
Step 10: A quick background and drop shadow and I call this distraction from “real” work DONE and ready for Instagram!

